iOS中设置圆角大致有下面几种办法,每一种都有各自的优缺点,结合场景选择合适的方案才是最佳处理。
1.cornerRadius 1 2 Setting the radius to a value greater than 0.0 causes the layer to begin drawing rounded corners on its background. By default, the corner radius does not apply to the image in the layer’s contents property ; it applies only to the background color and border of the layer. However, setting the masksToBounds property to YES causes the content to be clipped to the rounded corners. The default value of this property is 0.0 .
由于cornerRadius只对背景色和边框有效而对layer的contents并不起作用,因此一般都会配合masksToBounds使用。
苹果在iOS9后对cornerRadius+masksToBounds做了优化,当contentMode和backgroundColor为默认值时即:
1 2 imgView.contentMode = UIViewContentModeScaleToFill ; imgView.backgroundColor = [UIColor clearColor];
不会导致离屏渲染,否则还会离屏渲染,用View Debugging查看UIImageView会有黄色标识。
下面测试下cornerRadius+masksToBounds对FPS的影响。
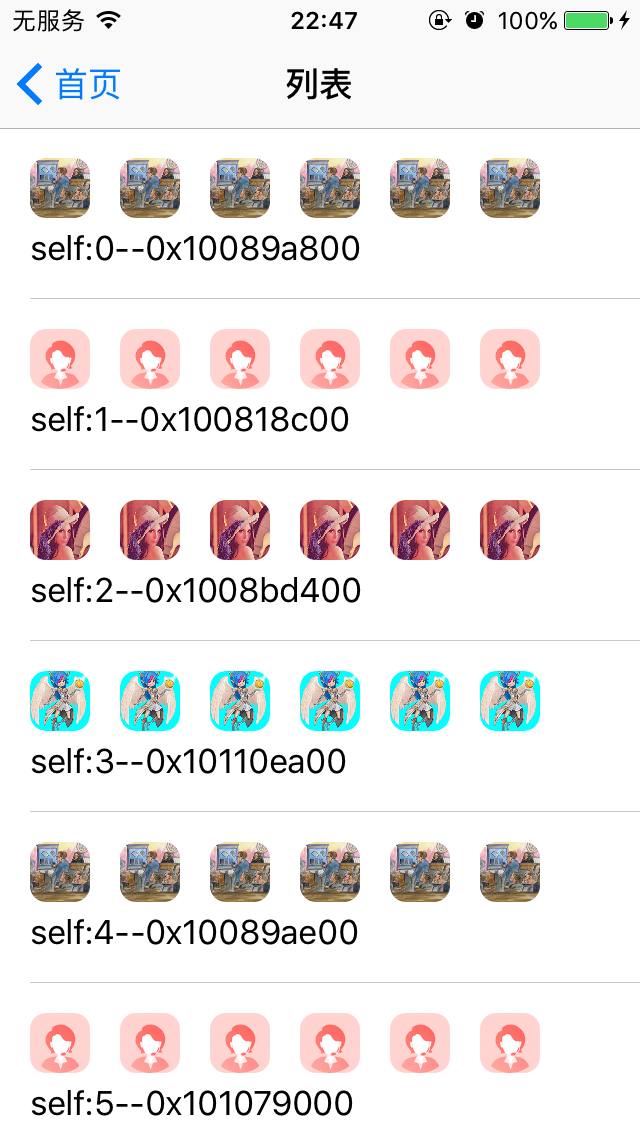
在iPhone5s,10.3.3上运行一个一屏cell上有36个圆角的Demo,imgView的contentMode和backgroundColor都不使用默认值:
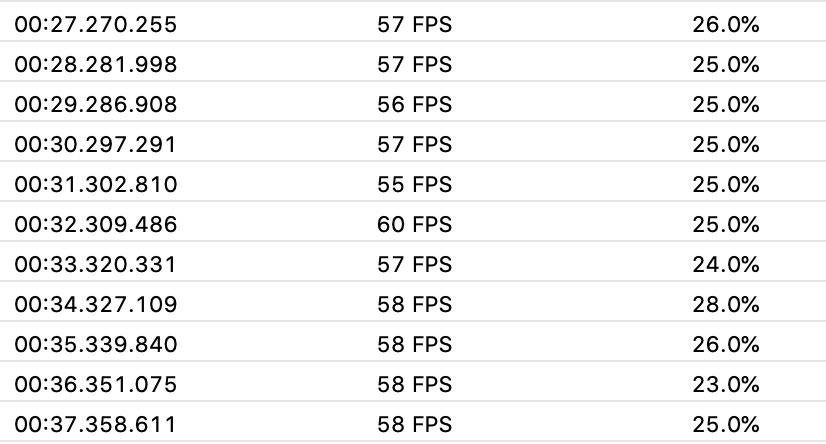
滑动起来依然很顺滑FPS基本在58左右:
可见使用cornerRadius+masksToBounds切圆角对性能的影响并不大。可能在iOS9以前比较影响性能。
该方案最简单,如果页面圆角不多,大可以使用该方案。
2.将原始图片处理为带圆角的图片 如果说上面是对控件切圆角那么这种办法就是对图片进行切圆角了,该方法不会引起离屏渲染。如果确定是离屏渲染造成性能下降,那么可以使用该方法。
将图片处理为圆角可以在客户端做也可以在服务器端做。
服务器端处理
一般在原始图片URL上拼接参数告诉后台要切多大的圆角。
客户端处理
如果后台不支持,那只能自己处理了。客户端处理的话一般通过Core Graphics 实现:
1 2 3 4 5 6 7 8 9 10 11 12 13 - (UIImage *)setRoundingCorners:(UIRectCorner )corners radius:(CGFloat )radius targetSize:(CGSize )size { CGRect rect = CGRectMake (0 , 0 , size.width, size.height); UIGraphicsBeginImageContextWithOptions (rect.size, NO , 0 ); CGContextRef ctx = UIGraphicsGetCurrentContext (); UIBezierPath *path = [UIBezierPath bezierPathWithRoundedRect:rect byRoundingCorners:corners cornerRadii:CGSizeMake (radius, radius)]; CGContextAddPath (ctx, path.CGPath); CGContextClip (ctx); [self drawInRect:rect]; CGContextDrawPath (ctx, kCGPathFillStroke); UIImage *img = UIGraphicsGetImageFromCurrentImageContext (); UIGraphicsEndImageContext (); return img; }
(ps:上述代码虽然给图片加上了圆角,但图片的填充方式是简单填满处理,因此当图片与控件不成比例时会导致图片变形,最好的办法是先等比例缩放原始图片后再调用上述代码添加圆角处理)
这样就将GPU的工作转移给了CPU,因此会对CPU造成一定的负担,可以结合SDWebImage将处理好的图片进行缓存避免每次重复处理。
1 2 3 4 5 6 7 8 9 10 11 12 13 14 15 16 17 18 19 20 21 22 23 24 25 26 27 28 29 30 31 32 33 34 35 36 37 38 39 40 - (void )sd_setImageWithURL:(nullable NSURL *)url placeholderImage:(nullable UIImage *)placeholder roundingCorners:(UIRectCorner )corners radius:(CGFloat )radius targetSize:(CGSize )size completed:(nullable SDExternalCompletionBlock)completedBlock { NSString *cachedKey = [self getCachedKeyWithURLString:url.absoluteString roundingCorners:corners radius:radius targetSize:size]; SDImageCacheType cacheType = SDImageCacheTypeNone; UIImage *cachedImage = [[SDImageCache sharedImageCache] imageFromMemoryCacheForKey:cachedKey]; if (cachedImage) { cacheType = SDImageCacheTypeMemory; } else { cachedImage = [[SDImageCache sharedImageCache] imageFromDiskCacheForKey:cachedKey]; if (cachedImage) { cacheType = SDImageCacheTypeDisk; } } if (cachedImage) { self .image = cachedImage; !completedBlock ?: completedBlock(cachedImage, nil , cacheType, url); } else { __weak typeof (self ) weakSelf = self ; [self sd_setImageWithURL:url placeholderImage:placeholder options:SDWebImageAvoidAutoSetImage context:@{SDWebImageContextStoreCacheType:@(SDImageCacheTypeNone)} progress:nil completed:^(UIImage * _Nullable image, NSError * _Nullable error, SDImageCacheType cacheType, NSURL * _Nullable imageURL) { UIImage *transformedImage = nil ; if (!error && image) { CGSize targetSize = CGSizeEqualToSize (size, CGSizeZero ) ? weakSelf.frame.size : size; transformedImage = [image setRoundingCorners:corners radius:radius targetSize:targetSize]; weakSelf.image = transformedImage; [[SDImageCache sharedImageCache] storeImage:transformedImage forKey:cachedKey completion:nil ]; } !completedBlock ?: completedBlock(transformedImage, error, cacheType, imageURL); }]; } } - (NSString *)getCachedKeyWithURLString:(NSString *)urlString roundingCorners:(UIRectCorner )corners radius:(CGFloat )radius targetSize:(CGSize )size { NSString *cachedKey = [NSString stringWithFormat:@"%@?c=%lu&r=%f&w=%f&h=%f" , urlString, (unsigned long )corners, radius, size.width, size.height]; return cachedKey; }
该方案较为复杂可以进行一定的封装,如果确定是圆角离屏渲染引起性能问题,可以使用该方案解决。
3.使用特制的圆角切图盖住原始图片 障眼法,在满足需求和效果的情况下这种方案应该是效率最高的了,既不会产生离屏渲染也不会加重CPU的负担,缺点是应用场景有限。
4.使用一个圆角路径的CAShapeLayer设置mask 千万不要使用这种方式,会导致离屏渲染而且会明显感觉到卡,性能比cornerRadius+masksToBounds还差:
1
2
3
4
CAShapeLayer *cornerLayer = [CAShapeLayer layer];cornerLayer.frame = CGRectMake (0 , 0 , kImageWH, kImageWH); cornerLayer.path = [UIBezierPath bezierPathWithRoundedRect:CGRectMake (0 , 0 , kImageWH, kImageWH) cornerRadius:kImageWH/2.0 ].CGPath; self .imgView.layer.mask = cornerLayer;
参考 圆角卡顿刨根问底
小心别让圆角成了你列表的帧数杀手
iOS高效添加圆角效果实战讲解
iOS优化界面渲染实践中的几点经验
Instruments使用
Diagnose and solve performance problems with Xcode Instruments